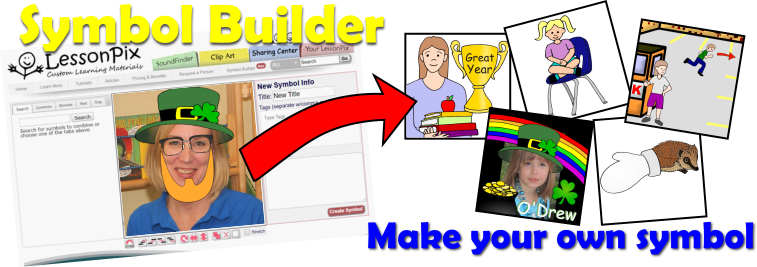
Combine pictures with the Symbol Builder
We're so happy to announce our Symbol Builder! This feature will let you combine our pictures to create your own unique symbols.
This can be a great option if: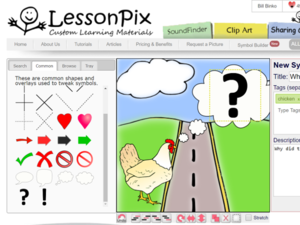
- You're working on Plurals and want many copies of the same picture in a card
- You need alternatives (Milk/Juice) in the same cell in a template
- You want to work on Opposites
- You'd like to overlay symbols on top of photos you upload
- The picture you want needs to be resized or cropped differently
- A story you're using has characters or settings that we don't offer
- And so much more!
Check out everything you can do with the Symbol Builder with this quick tutorial!
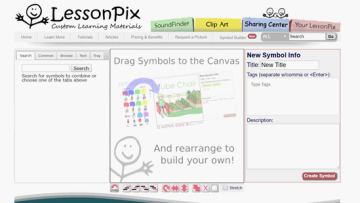
Make a new symbol by combining symbols and/or photos. It’s easy to do and can be a lot of fun! Here's how it works.

First go to “Symbol Builder” in the top menu bar.
- Choose the symbols you would like to use and drag them to the tray
- Edit to arrange your symbols
- Name Your Symbol
- Save Symbol
Hint #1: If you are using your uploaded photos or recolored symbols, place those symbol in the tray for easy access.
Finding the Symbols
There are many ways to find the symbols you need.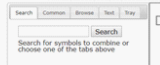
- Search: Search LessonPix by entering the keyword. Personal photos will show in your search.
- Common: These are commonly used symbols such as a red X to indicate “no”, arrows, and thought bubbles.
- Browse: This tab shows the categories of symbols for you to browse in choosing your symbols, such as animals or clothing.
- Text: This tab lets you enter your own text as a symbol. You may choose the color, outline, and font of your text.
- Tray: This tab will show “Your Tray” with the symbols you are currently using.
Edit Your Symbol
- Click a symbol to highlight the symbol
- Move a highlighted symbol around the working area to place as you’d like.
- Grow or shrink the symbol by pulling the black arrow in the lower right corner of a highlighted symbol.
The buttons under the working area allow you to edit the highlighted symbol. Here is what they mean left to right:
- Undo the last action
- Raise the highlighted symbol to the top layer.
- Raise the highlighted symbol one step up
- Lower the highlighted symbol one step down

- Lower the highlighted symbol to the bottom layer
- Rotate 90 degrees
- Flip symbol horizontally
- Flip symbol vertically
- Duplicate Symbol
- Delete Symbol
- Clear All
- Stretch: when checked, this will allow you to grow and shrink the symbol by pulling the black arrow AND will not keep the proportion. This allows you to stretch the symbol thin or wide.
Name your symbol
This area allows you to give the title to your new symbol. You may like to add keyword “tags” to allow your symbol to show in your search results. You may also add a description to your new symbol.
Save your symbol
When you click save, the symbol will be saved in "Your Photos" under "Your LessonPix" tab.
Start creating your custom symbols today!
 Facebook
 Twitter
 Pinterest