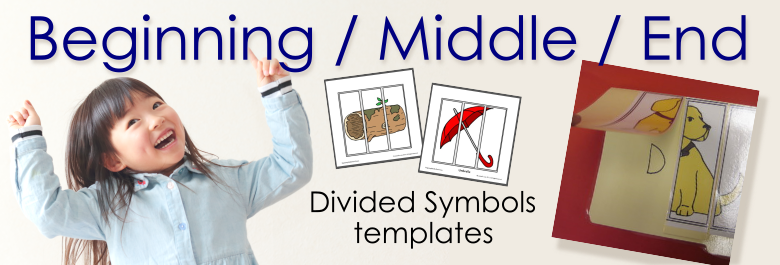
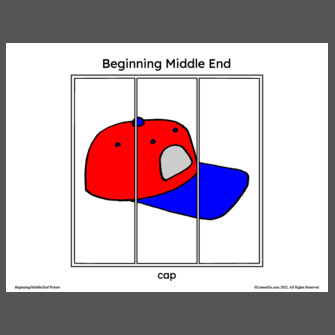
Beginning/Middle/End Template
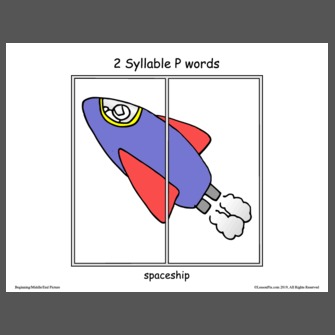
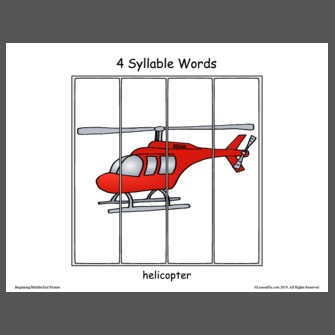
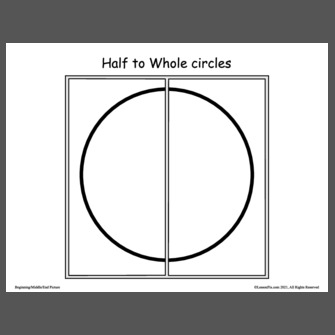
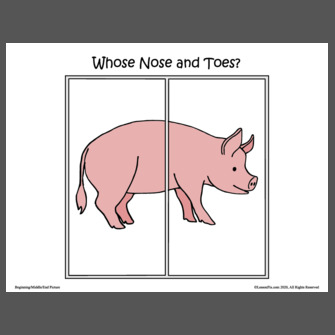
The “Beginning/Middle/End” splits the symbol into 2 - 5 equal-sized vertical slices.
When first teaching early literacy skills, teachers often introduce the words “Beginning”, “Middle” and “End”. The teacher may start with a picture of an animal or vehicle divided into segments and ask the students to point to the beginning or front of the picture, the middle, and the end. From there they are able to expand to beginning, middle, and end of 3-4 letter words, stories being read, and class writing projects.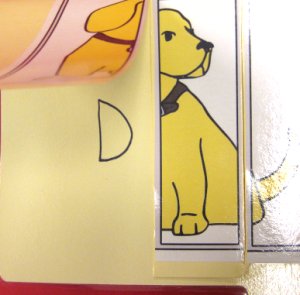
These are great tools for working with your class or children in many different ways – here are some ideas to get you started.
Here are more ideas on how to use the Beginning / Middle / End Template.
Mix and Match:
Build a collection based on a theme, a storybook, holiday, or beginning letter sound and bind them into a class book. Cut along the lines so the pages move independently.
Students can turn the pages to match the correct pictures.
Beginning/Middle/End Puzzles
Have the student put together the parts of the picture while saying, "Beginning, Middle, and End." Choose pictures (or edit symbols) that have the "head" or front of the picture on the left side to promote left to right perception.
Cooperative Learning Groups
Build a Collection with approximately 1/3 the number of pictures as you have students and build a Beginning/Middle/End Material. Print the generated PDF on heavy stock and cut into three segments each.
Distribute the cards to students (one segment each) and have the students form their groups by finding classmates with connecting picture pieces. This activity promotes cooperative learning, social skills and sequencing while providing a fun "mystery game" for the kids.
Scavenger Hunt!
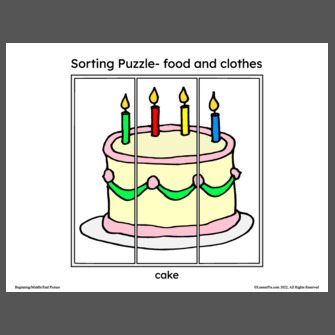
Create a Beginning/Middle/End Material for each of two (or more) different Collections. For this example, we will choose one with Foods and one with Clothing. You could also create collections related to beginning letter sounds, rhyming words, or literature read in class.
Place the pieces in random order around a designated area such as the playground. Have the students divide into 2 teams: one for Food and one for Clothing. Each team must find and put together their pieces from their category.
File Folder Games
Create a Beginning/Middle/End Material from one of your Collections and glue the generated PDF on the front of a file folder. Cut the front of the file folder following the dotted line on the picture making 3 flaps that open to reveal the inside of the file folder. Each flap lifts separately to reveals a concept related to beginning, middle, and end.
Here are some file folder ideas:
- Isolated Letters - With a picture of a dog on the front, place a “d” under the picture of the dog's head. Place an “o” under the dog's belly, and place a “g” under the dog's tail. A tea
cher may make sets of word families like: dog, fog, frog, log, hog.... all using flaps to find the beginning, middle, and ending letters.
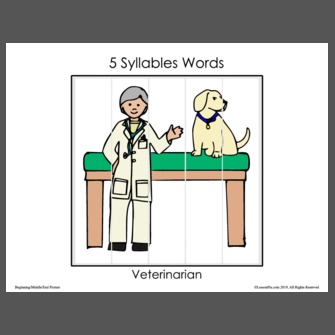
- Segmentation - With a picture of an umbrella on the front, place the letters “um” under the first flap for the beginning, “brell” under the middle flap, and “a” under the ending or last flap. This material can be used to teach segmenting or syllables.
- Sequencing - Using a setting of a story as the front picture, such as a gingerbread house, lift each flap to reveal a part of the story. For example, under the first flap reveal a gingerbread man popping out of the oven. Then under the middle flap, show the gingerbread man running from the characters. And under the last flap, show the fox with the gingerbread man.
- Writing - Using a picture that represents a topic for writing, lift each flap to outline a story. For example, under the first flap, reveal the words “Once upon a time...” , “In the beginning...”, “1st”, “Kick off!” or “grab the readers attention” . Under the second flap write a clue such as “then”, “in the middle...” or “the plot thickens!”. Under the last flap, write a clue such as “Finally...”, “Last”, “Closing”, or “And they lived Happily Ever After!”. A writing paper may be placed in the folder for the student's writing. There may be an assortment of folders with different pictures on the front in a writing center so that students may choose the picture that matched the setting, character, or topic of their writing.
Make your own custom Template at LessonPix....
Over 500 Templates and 30,000+ Pictures. Just choose your pictures and click "Create Materials". It's so easy to customize materials for your needs.
- Affordable
- Easy-to-Use
- Online
- Group Licenses Available
To learn more, watch our "Get Started Video
 Facebook
 Twitter
 Pinterest